AI + Word + Eidograph: How to Create Geometry Diagrams for Math Exams
- Metaphor Projects
- Application , Tutorial
- 04 Oct, 2026
Writing a math exam in Word often takes less time than drawing its diagrams. Vertex labels touch the edges, a midpoint drifts out of place, and a figure that looks fine on screen becomes hard to read when reduced for the page.
A useful workflow gives each tool a clear job: AI translates the question into construction requirements, Eidograph builds and exports the geometry, and Word handles the exam layout. The points, segments, and relationships remain in an editable project that you can reuse when the question changes.
We will work through this proof question:
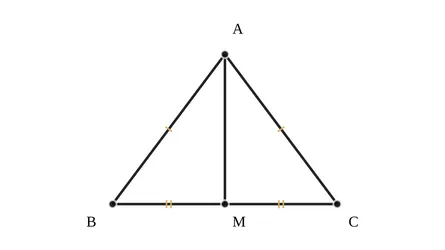
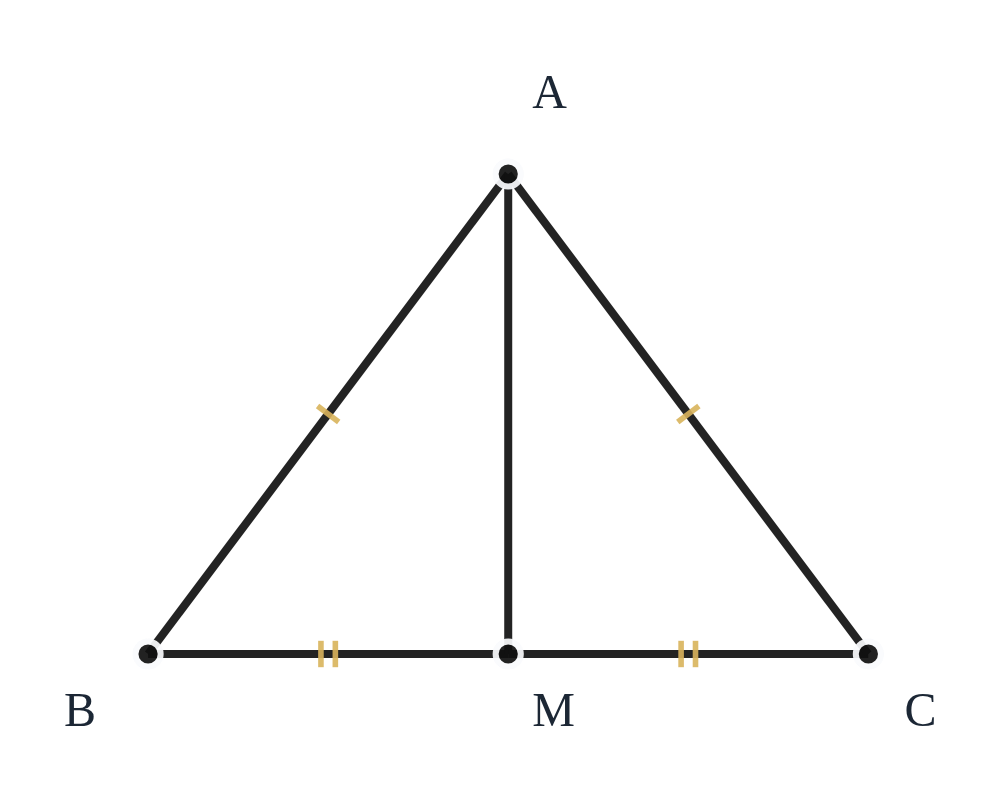
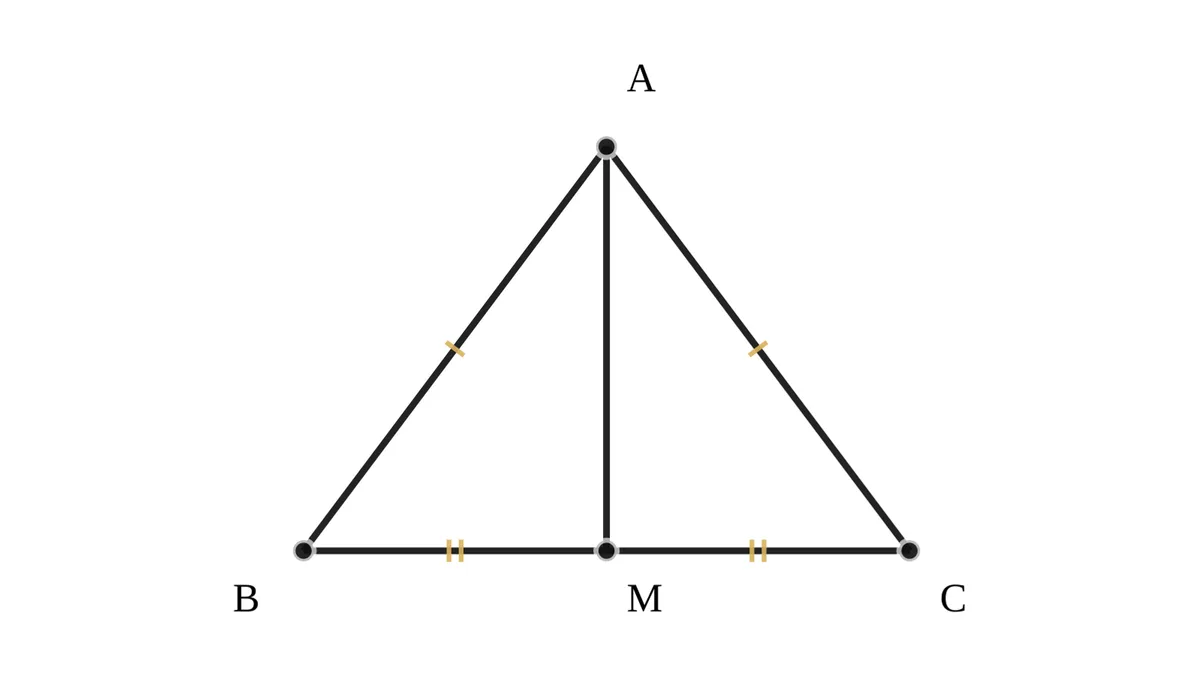
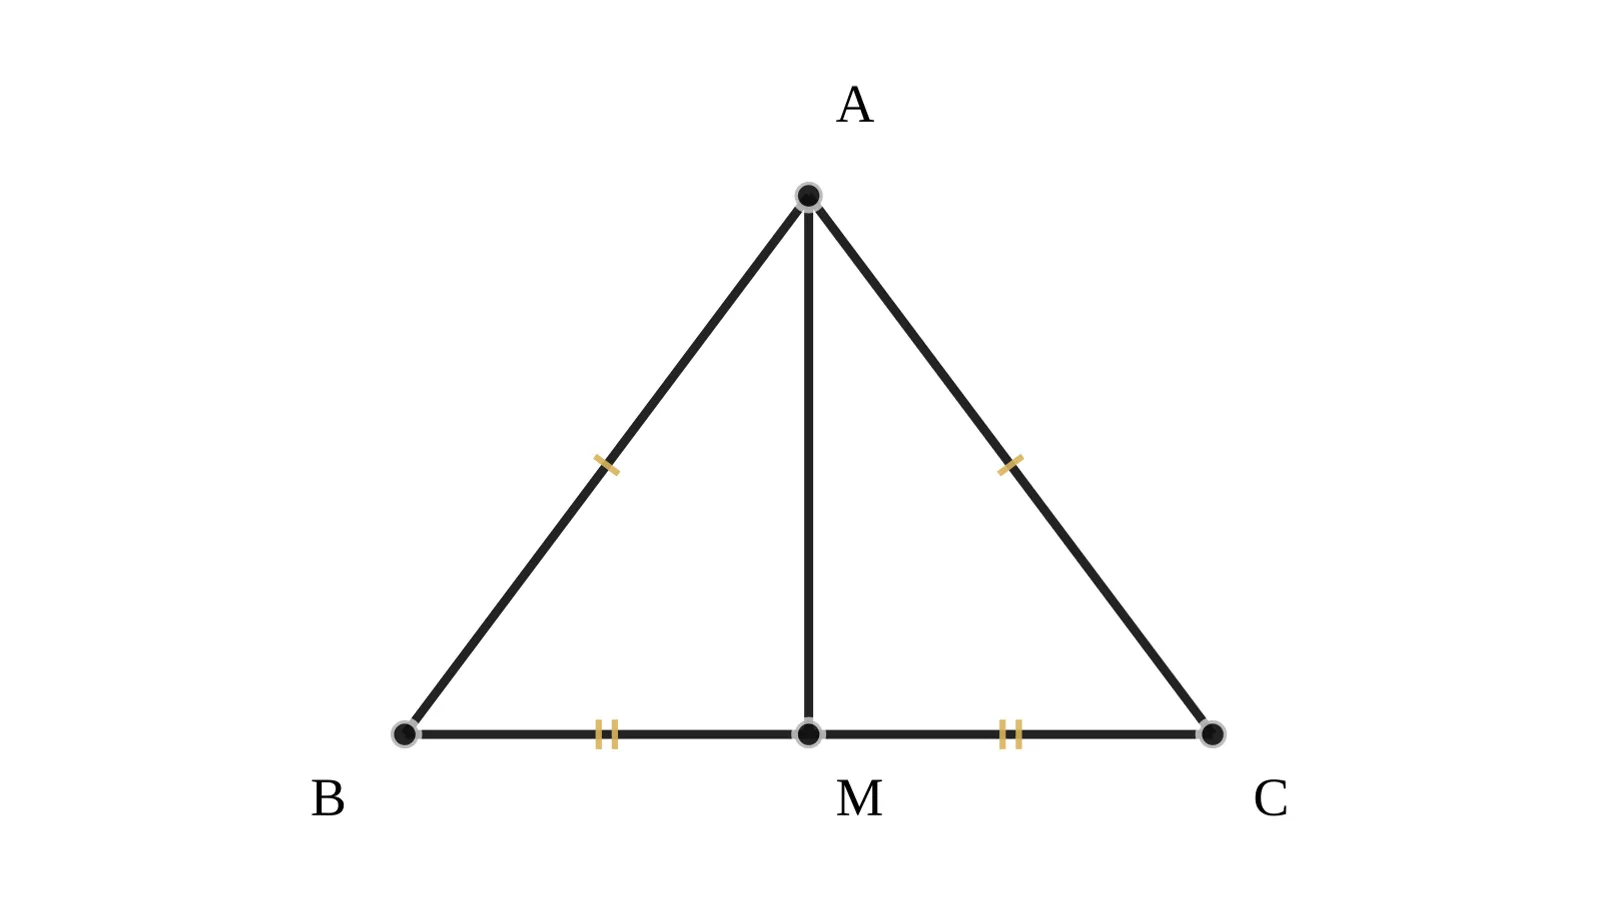
In triangle ABC, AB = AC. M is the midpoint of BC. Join AM. Prove that AM is perpendicular to BC.
1. Set up Word, Eidograph, and AI
For a desktop workflow, use Word and Eidograph for Windows. Install Eidograph from the Microsoft Store and create a new 2D project.
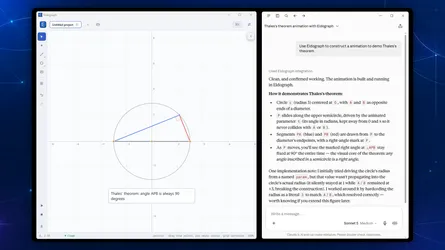
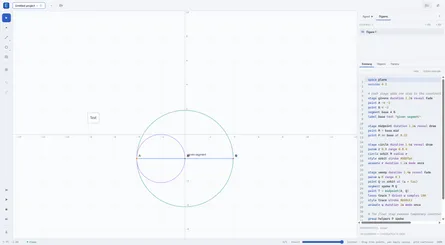
In Settings → Agent, add an available model service with its endpoint, API key, and model ID, then return to the Agent tab in the right-hand panel. The model service needs separate configuration; see Eidograph’s basic workflow for the setup details.
You can also ask another AI assistant to produce a script using the Eidolang language reference, then paste it into Eidograph’s Eidolang panel. This tutorial uses the built-in Agent so the AI can edit the current figure and read its construction diagnostics.
2. Give the AI both the givens and the print requirements
Identify which relationships the question supplies and which students must prove. Here, AB = AC and BM = MC are givens; AM perpendicular to BC is the conclusion. The student diagram should include AM without a right-angle mark.
Send this prompt to the Eidograph Agent:
Create an editable 2D geometry diagram for a math exam in Word.

Question: In triangle ABC, AB = AC. M is the midpoint of BC.
Join AM. Prove that AM is perpendicular to BC.

Construction requirements:
1. Put A above B and C, with BC horizontal. Avoid a very flat triangle.
2. Build the isosceles triangle using half-base and height parameters,
   so AB = AC remains true when those parameters change.
3. Derive M as the midpoint of B and C, then join AM.
4. Use matching single ticks on AB and AC, and matching double ticks
   on BM and MC.
5. Label A, B, C, and M without overlapping segments or ticks.
6. Use black strokes suitable for monochrome printing, with no colored fill.
7. This is the student version: do not add a right-angle mark,
   angle measurements, proof steps, or lengths absent from the question.
8. Check the construction diagnostics and explain how to export
   SVG and PNG without the coordinate grid.
“Midpoint” should become a dependency in the construction. “Isosceles” should remain true when you change the parameters. Both requirements matter beyond the first image the AI produces.
3. Check the geometry, then adjust the labels
Inspect the canvas and the Objects and Diagnostics panels. Focus on three things:
- The givens hold. AB and AC have equal lengths, and M is the midpoint of BC. Change the half-base or height parameter and check that those relationships remain true.
- The figure matches the question. Vertex names agree with the text. There are no extra lengths, angles, or auxiliary lines, and the conclusion has not been marked as a given.
- It remains readable when reduced. Labels clear the edges, single and double ticks are distinct, and AM does not cover the label M.
For a layout adjustment, follow up with:
Keep the existing geometric relationships. Adjust only label positions
and line styles. The diagram will be about 6 cm wide in Word.
Make all four vertex labels readable without overlapping segments
or ticks. Keep the student version free of right-angle marks.
To start from a working construction, download the example Eidolang script. Drag the .txt file into Eidograph, or paste its text into a new 2D figure’s Eidolang panel. Its construction core is below; the download also includes black styles, labels, equal-length ticks, and checks of the givens.
space plane
param halfBase 3 range 1 5 step 0.1
param height 4 range 1 6 step 0.1
point A 0 height
point B (-halfBase) 0
point C halfBase 0
point M = midpoint(B, C)
segment AB A B
segment AC A C
segment BM B M
segment MC M C
segment AM A M
In this example, parameters control A, B, and C, while the midpoint expression controls M. Use the parameter sliders to change the shape; keep M derived from B and C.
4. Export an image for Word
Switch to the light theme and check that strokes and labels work on white paper. Tick and right-angle marks may retain the application’s accent color; keep their meaning independent of color and check their visibility in monochrome print. Click Export at the bottom of the left toolbar, choose Fit content, turn off the coordinate grid, and check that the export boundaries include every label. For a coordinate geometry question, retain the axes or grid the question requires.
| Format | When to choose it | Practical setting |
|---|---|---|
| SVG | Your version of Word supports SVG and you want sharp lines when resizing | Keep a vector original and check labels and ticks after insertion |
| PNG | The recipient’s Word cannot display SVG correctly, or you need a conventional image file | Export at 2× or 4× and inspect it at the final print size |
If labels look too small after insertion in Word, zoom out on the Eidograph canvas before exporting with Fit content. This makes labels larger relative to the geometry. The 2× and 4× settings increase PNG pixel counts without changing that proportion. The downloadable example was exported at a lower canvas zoom for this reason.
2D SVG and PNG exports support transparent backgrounds. For a white exam page, use transparency or export with a background in the light theme. The export contains the figure without the editor or toolbars, so you normally do not need to crop an application screenshot. Eidograph export options
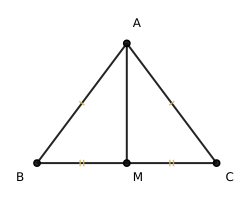
For comparison, download the example student SVG or student PNG. These example images were produced through Eidograph’s actual construction and export pipeline.
5. Insert it into Word at the final size
Place the cursor below the question and select Insert → Pictures → This Device. Choose the exported file. Word versions that support SVG can insert .svg through this same menu; check Microsoft’s SVG guidance for supported versions.
Start with a width of about 6 cm, keep the aspect ratio, and adjust for your page. In Layout Options, choose In Line with Text and center the image as its own paragraph. An inline picture stays tied to its position in the text, which is useful when adding or removing exam questions. Microsoft’s picture layout guidance
For a question on the left and a diagram on the right, use a one-row, two-column table and hide its borders. Set the column widths before resizing the image, and leave enough room for the student’s answer.
Export the exam to PDF and inspect the labels, ticks, and fine lines at the actual page size. SVG keeps edges sharp during resizing, but letters inside the image still shrink with it. If needed, adjust the diagram in Eidograph and export again. A monochrome test print reveals details that are readable on screen but too faint on paper.
6. Save a separate solution diagram
Save the student construction as an .eido project, then use Save As to create a solution version. In that version, ask the Agent:
Keep the existing diagram in the solution version and mark the right
angle between AM and BC at M. Leave the student version unchanged.
Continue using styles suitable for monochrome printing.
Alternatively, append this line to the solution figure’s script:
mark right B M A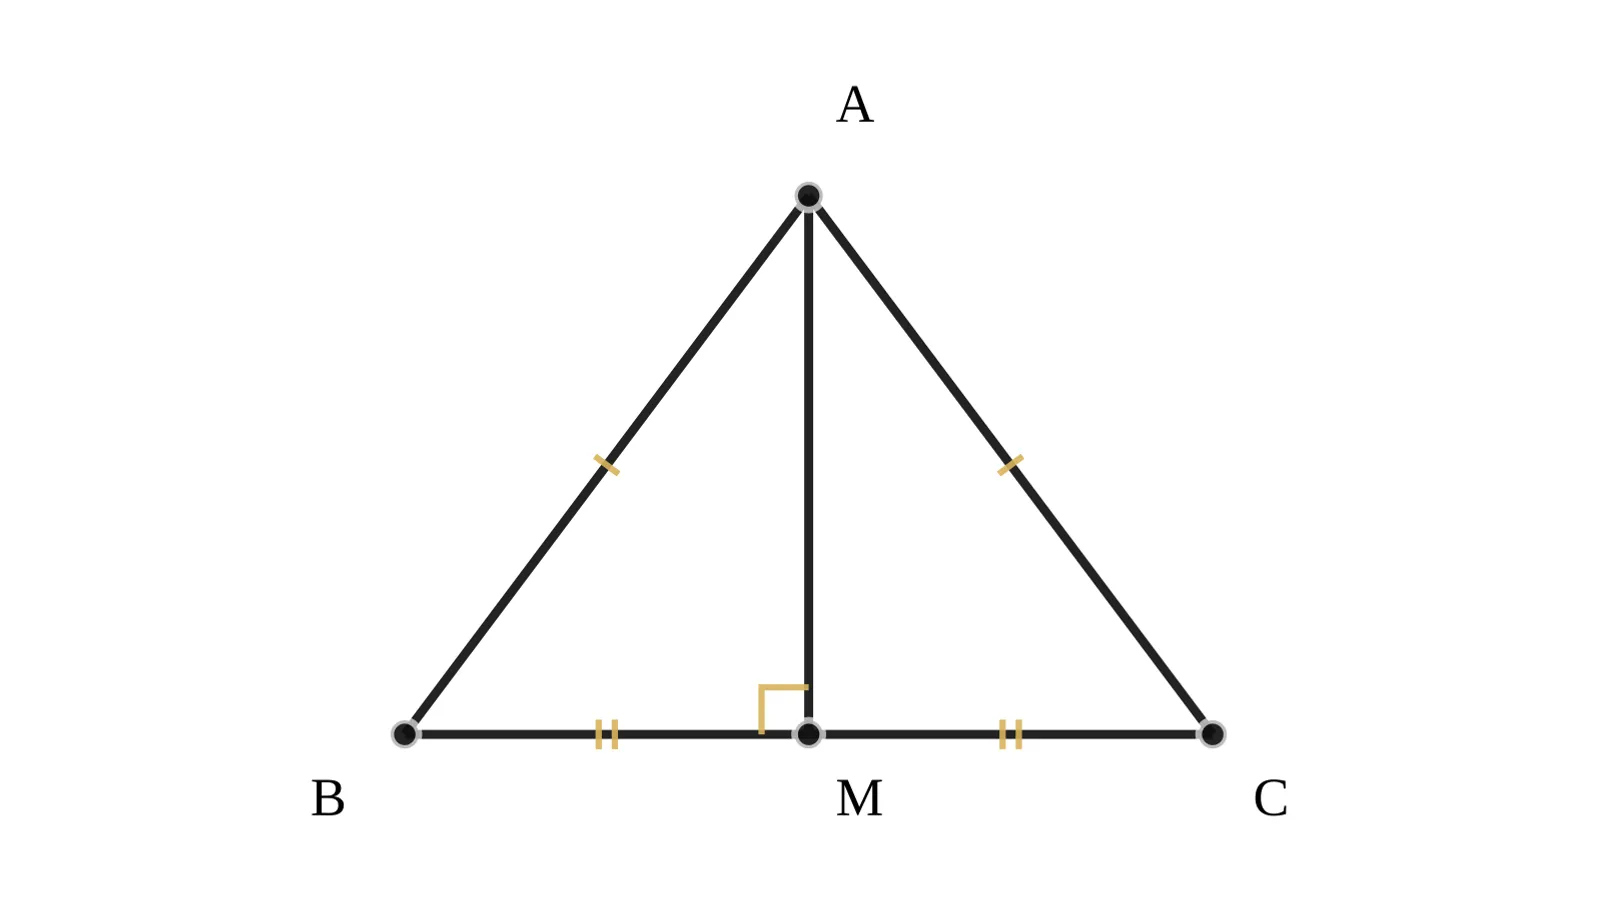
A right-angle mark is a visual annotation; it does not constrain or prove perpendicularity. The written solution still needs the reasoning: AB = AC, BM = MC, and the common side AM give congruent triangles ABM and ACM by SSS. The adjacent angles at M are equal and sum to 180°, so each is 90°.
Keep the .docx, the student and solution .eido projects, and the exported images in the same lesson folder. For the next question, update the parameters or construction, export again, and replace the image in Word.
Get Eidograph from the Microsoft Store, or install the Android version from Google Play. Explore the Eidograph product page and documentation for more workflows.