Tile App Windows Inside a Selected Area on Windows with OverRec
- Metaphor Projects
- Application
- 16 Nov, 2026
Sometimes you want two or three app windows neatly arranged in one part of your screen, with room alongside them for notes, a chat, or another task. A tutorial might need a fixed recording area. A comparison might need two documents side by side in the middle of an ultrawide monitor.
OverRec lets you tile selected app windows inside a rectangle you choose on your Windows desktop. Draw the area, choose a layout, and select the windows to place inside it. The layout can occupy just the space you need.
Start with the area you want to use
The rectangle defines the outer boundary of your layout. You can draw it over part of a monitor or enter its position and dimensions for a repeatable setup.
For example, reserve a 1280 × 720 area for an app demonstration. Put the main app and a reference window inside that area, then keep your speaking notes beside it. On a larger display, the demonstration becomes one part of your workspace rather than filling the desktop.
OverRec moves and resizes the selected windows into the rectangle’s slots. The windows remain ordinary app windows that you can use and move afterward. Choose an area with enough room for each app’s controls and content.
How to tile windows inside a rectangle
- Open the apps you want to arrange. Keep their windows available so you can find them in OverRec’s window list.
- Draw your target rectangle in OverRec. Position it where you want the group of windows. Set exact dimensions if you are preparing screenshots or a recording at a particular size.
- Open the Snap window list. Choose a layout with the number and proportions of slots you need.
- Select your windows. The numbered selections show which slot each window will occupy. Slots run from left to right, then top to bottom.
- Click Tile. OverRec moves and resizes the selected windows into their assigned slots.
For two columns, select the window you want on the left first. For a 2×2 grid, the order is top left, top right, bottom left, then bottom right. Check the selection numbers before applying the layout, especially if you deselect and replace a window.
You can select fewer windows than the layout has slots; unassigned slots receive no window. To fit just one app to the entire rectangle, use the single-window Snap option.
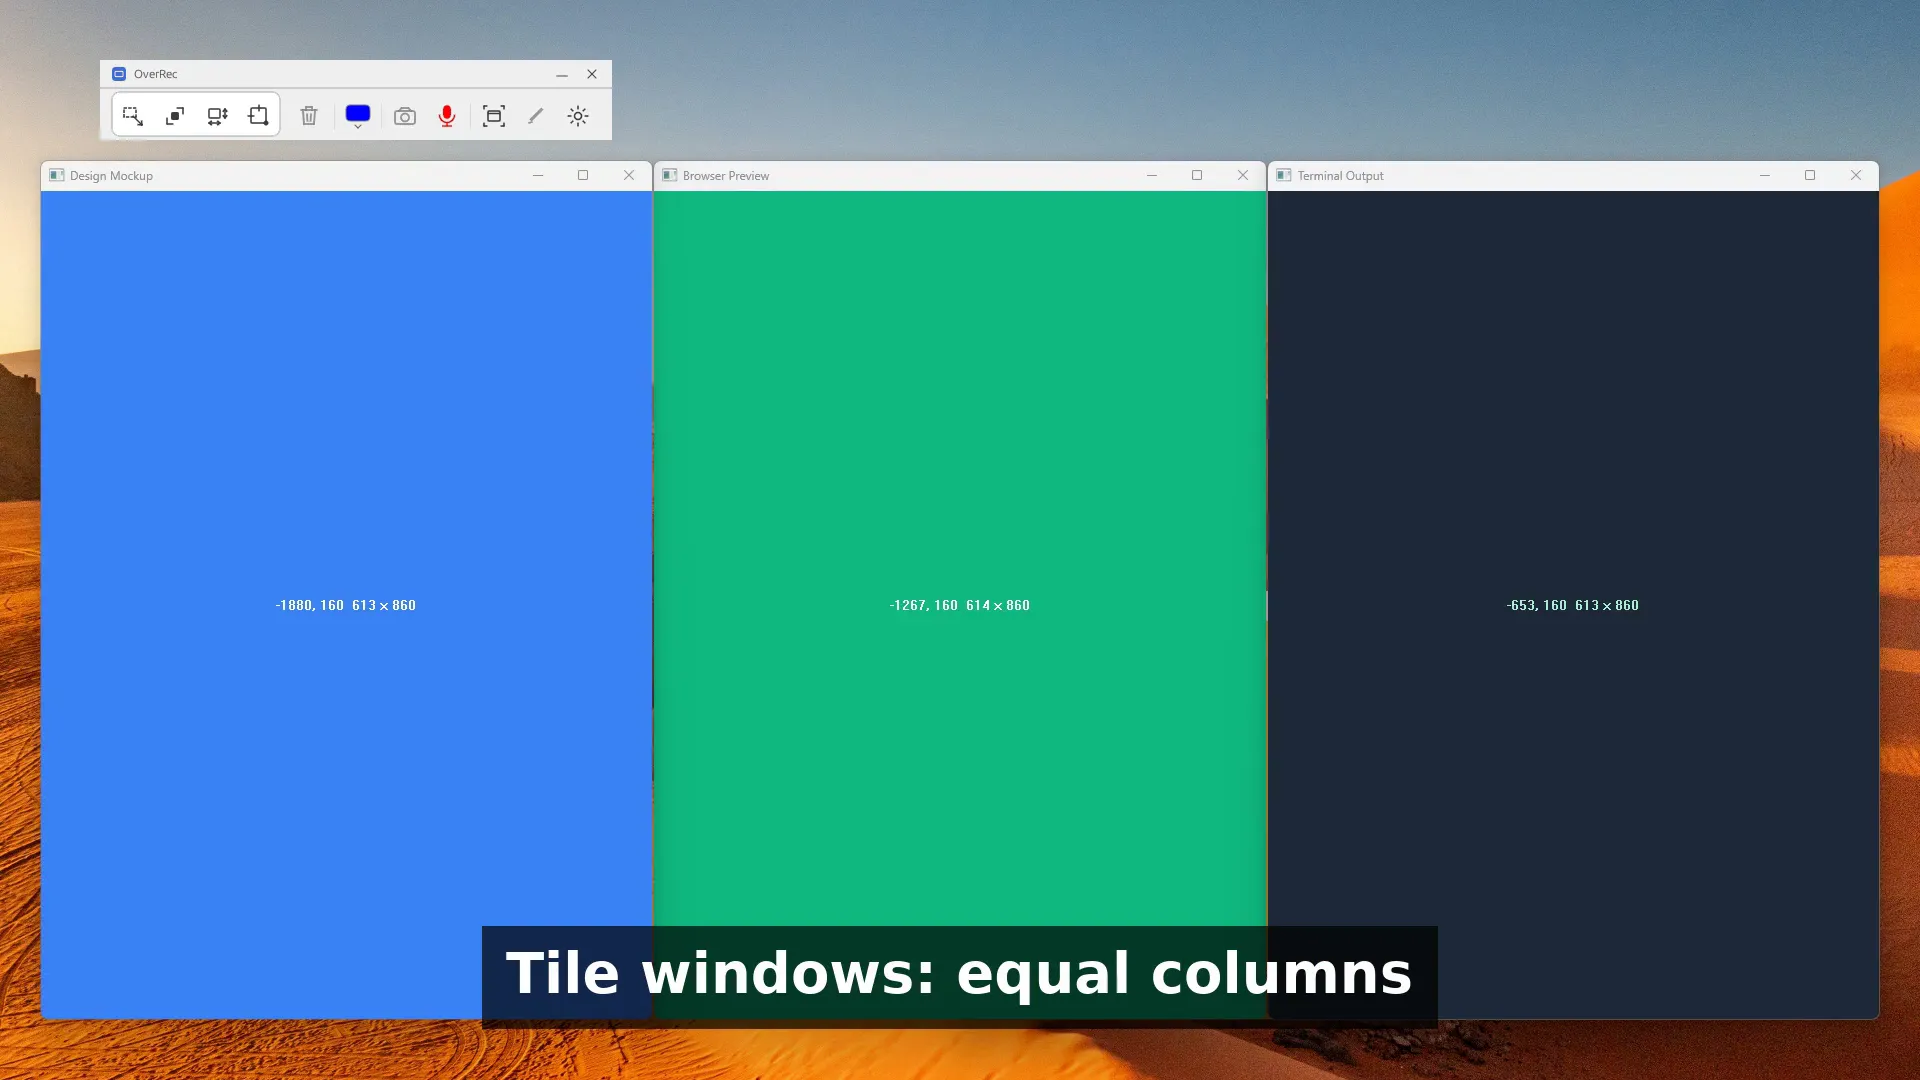
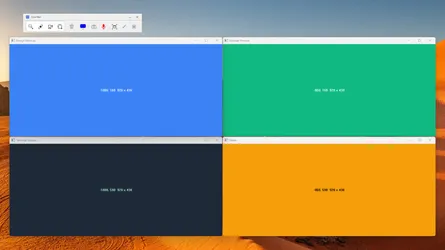
Three equal columns, captured from the OverRec demo video. The colored test windows make the slots easy to see. This demonstration uses a large rectangle; you can choose a smaller area for the same layout.
Pick a layout for the task
| Layout | When it helps |
|---|---|
| Two equal columns | Compare two documents or app views side by side |
| Two columns with a 70/30 or 60/40 split | Give the main app more width and keep a reference alongside it |
| Two rows, equal or unequal | Keep a preview above its output or supporting material |
| Three equal columns or rows | Arrange three related windows within the same area |
| A 2×2 grid | Keep four windows visible for a comparison or walkthrough |
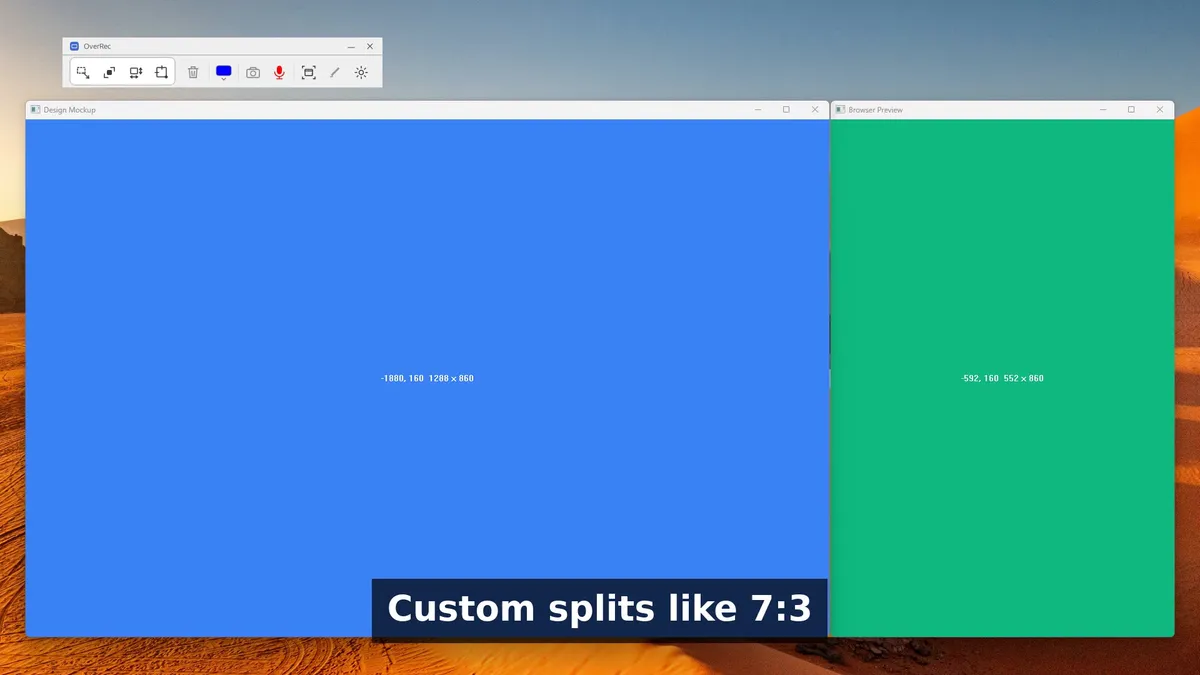
The two-column and two-row layouts support 1:1, 4:6, 6:4, 7:3, and 3:7 ratios. Those ratios divide your chosen rectangle, so a 70/30 split gives the first window 70% of that area’s width when using columns.
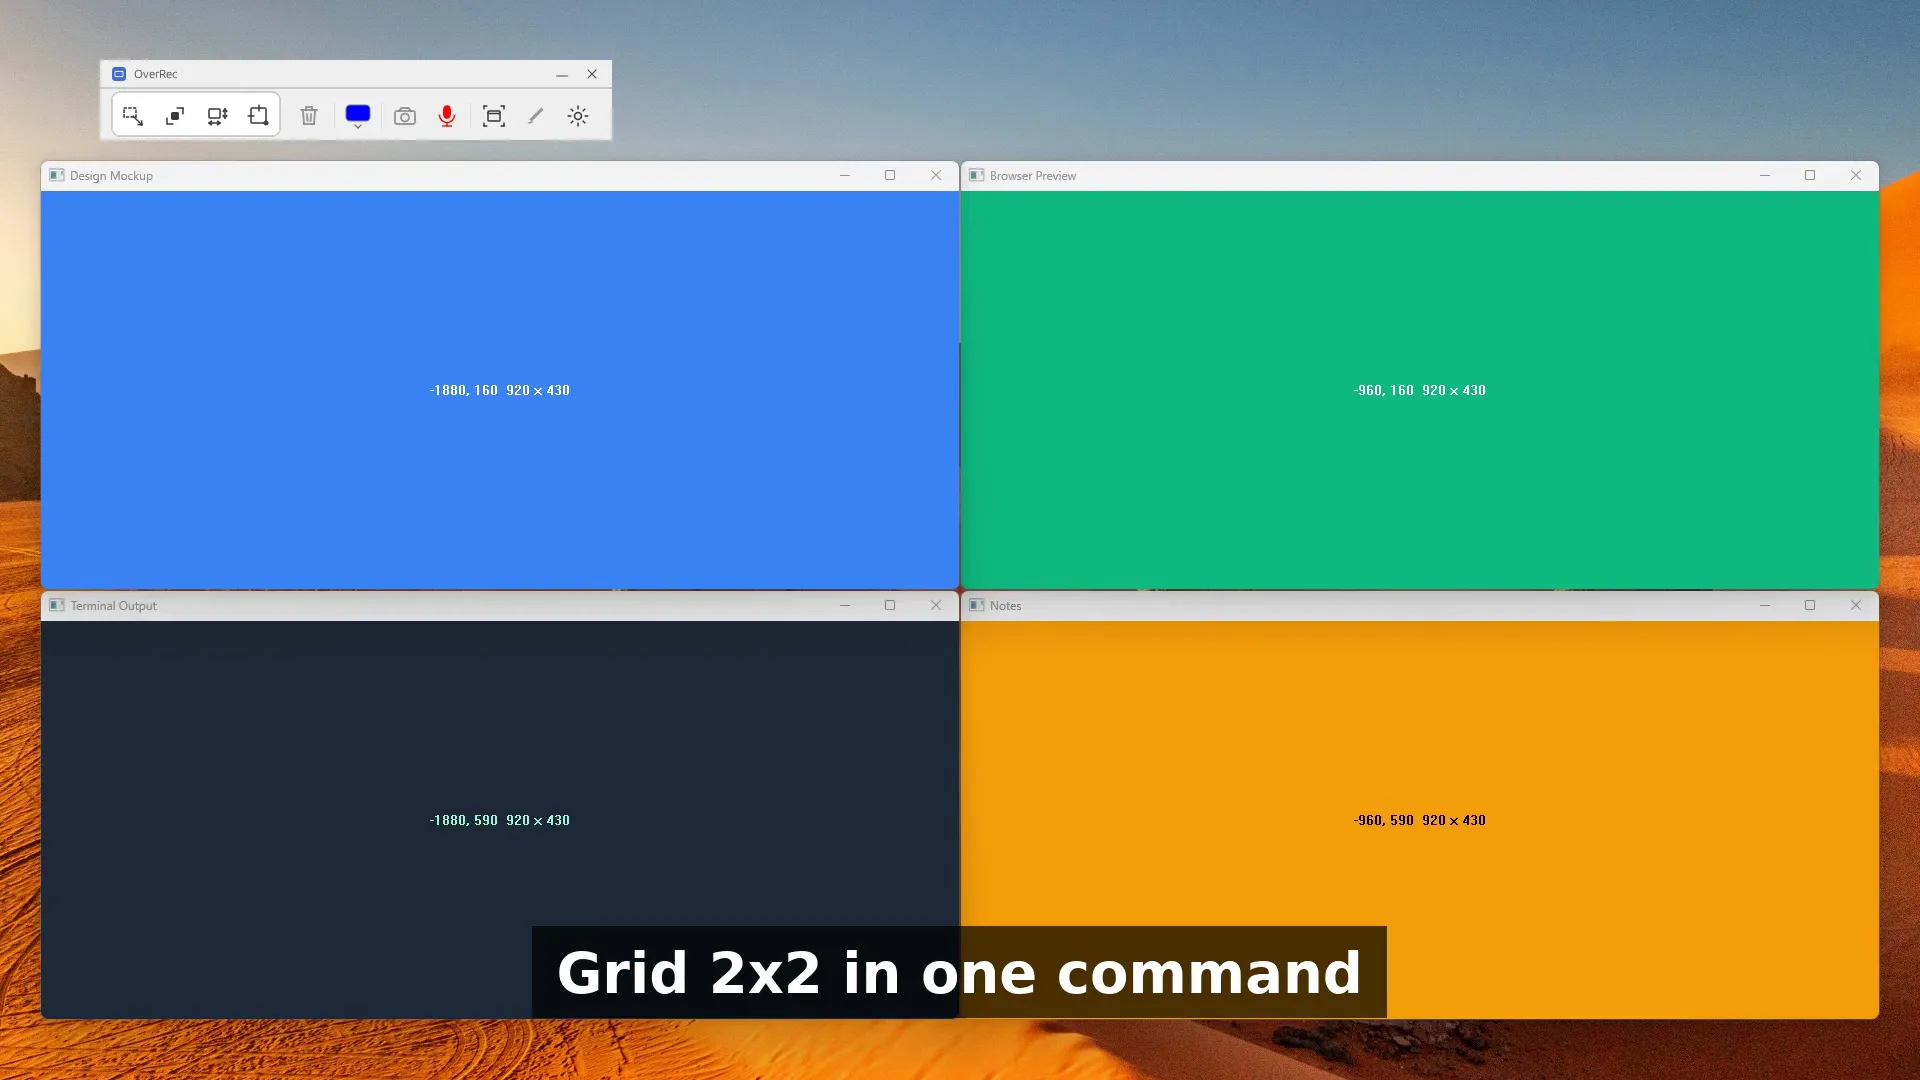
A 2×2 layout divides the selected rectangle into four equal slots. Select windows in the order you want them placed, starting at the top left.
Keep a demo and your notes together
For a product walkthrough, choose a rectangle for the material viewers need to see. Tile the app and its reference window inside it, then place your notes elsewhere on the desktop. Capture or record the selected area with OverRec when the layout is ready.
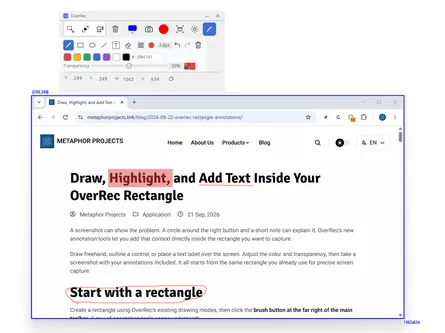
The same approach works for a bug report: arrange an app beside the expected result, add annotations around the relevant details, and capture the area. See how to annotate inside an OverRec rectangle.
Before recording, check the capture area and make sure other windows do not overlap it. A tiling rectangle sets window positions; it does not isolate those windows from the rest of the desktop.
Repeat a layout from the command line
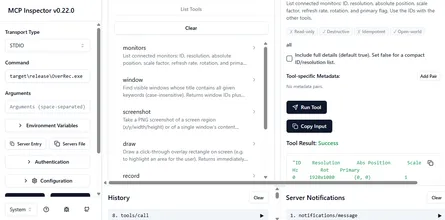
If you regularly prepare the same workspace, OverRec’s CLI can apply a layout to an explicit position and size. First list the monitors and windows:
OverRec.exe cli monitors
OverRec.exe cli window
Then use the IDs of two windows to place them in a 70/30 split inside a 1280 × 720 rectangle starting at position 100, 120 on monitor 0:
OverRec.exe cli snap --windowid 657846,329812 --tile lr-7:3 --location 100,120 --size 1280x720 --monitor 0Replace the example window IDs with the current IDs from your own window list, and choose a monitor and rectangle that fit your display. With --monitor, the location is relative to that monitor’s top-left corner. The first window ID fills the left slot; the second fills the right slot.
Use lr-1:1 for equal columns, tb-1:1 for equal rows, or grid-2x2 with four window IDs for a four-window layout. The MCP snap tool also accepts a tile argument for agent-driven setup; the CLI and MCP guide covers the available tools.
Get OverRec from the Microsoft Store to arrange app windows within a chosen area, then annotate, capture, or record that part of your workspace.